Posted by homeimprovementideas.com on June 24, 2024 in the Basement category

Sketch Your Layout: Begin by sketching your desired layout on paper. This will help you visualize the arrangement and ensure you have enough space for all your plants. Measure Wall Space: Use a measuring tape to measure the wall where the vertical garden will be installed. Note the height and width to ensure the frame fits perfectly.
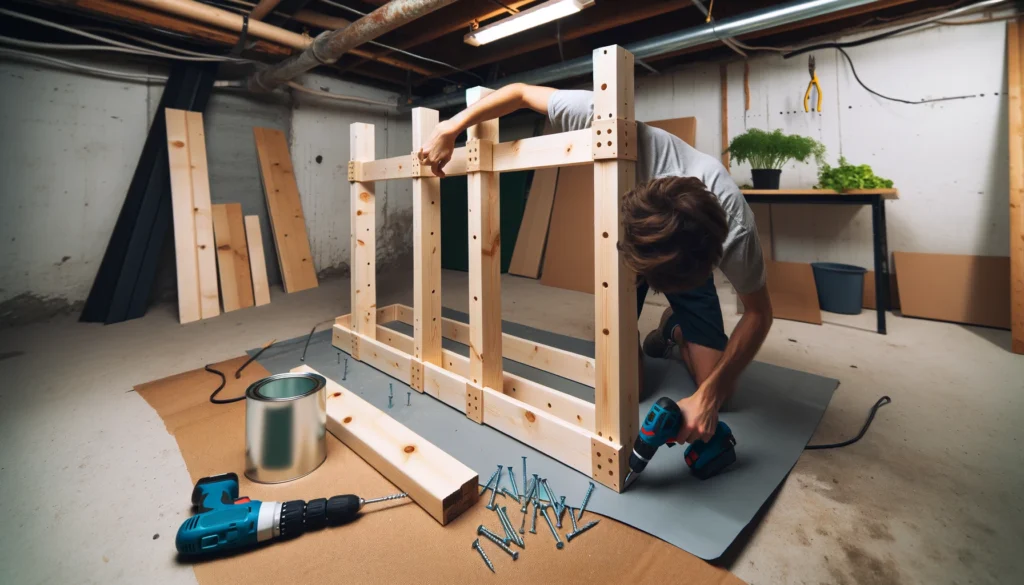
Choose Your Frame Material: Decide whether you will use pre-made wooden pallets or build a custom frame. If building a custom frame, purchase wood and cut it to size. Assemble the Frame: Use screws and a drill to assemble the frame. Ensure it is sturdy and can support the weight of the soil and plants. Optional Painting: If you want to paint the frame, apply a coat of moisture-resistant paint to protect the wood from water damage. Allow it to dry completely before proceeding.
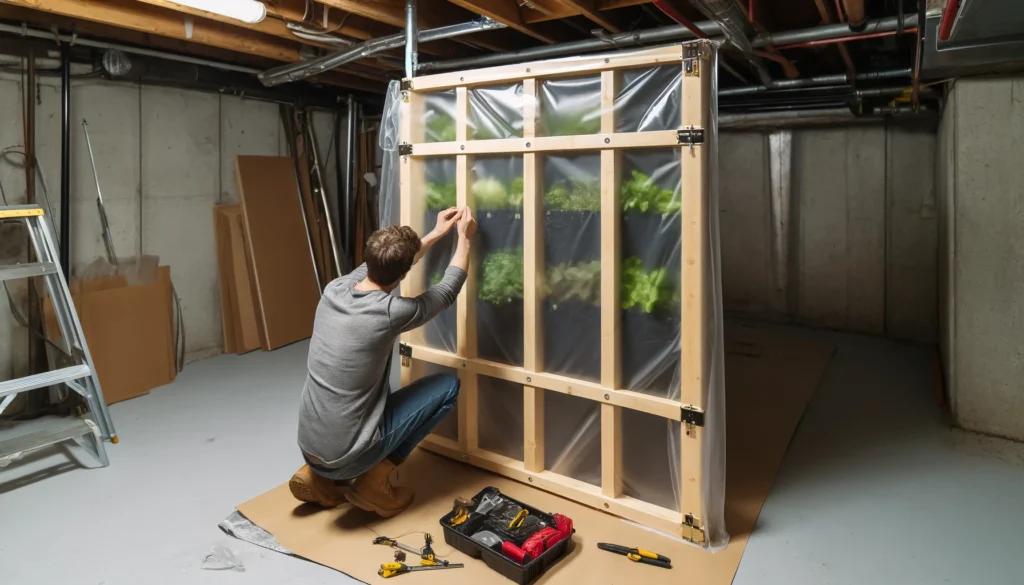
Prepare Plastic Sheeting: Cut plastic sheeting or a waterproof liner to fit the back of the frame. Attach the Sheeting: Secure the plastic sheeting to the back of the frame using staples or small nails. Ensure it covers the entire back to protect your wall from moisture.
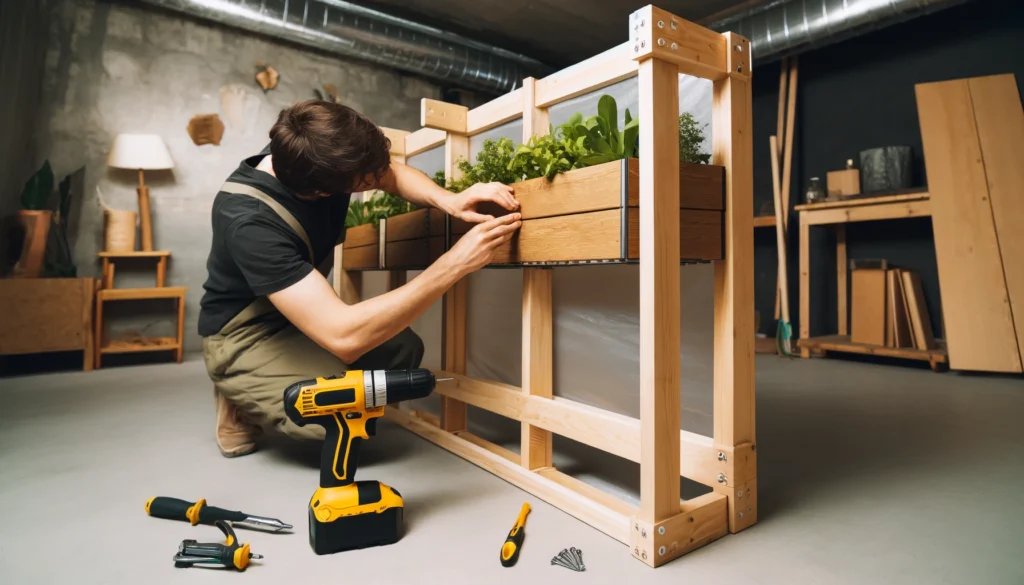
Select Planter Boxes: Choose planter boxes or pots that fit within your frame. They should be deep enough to hold soil and allow plants to root. Attach Planters: Using screws or hooks, attach the planter boxes to the frame. Space them evenly and ensure they are secure to prevent them from falling when filled with soil and plants.

Fill Planters with Soil: Fill each planter box or pot with potting soil. Leave a little space at the top to avoid spillage when watering.
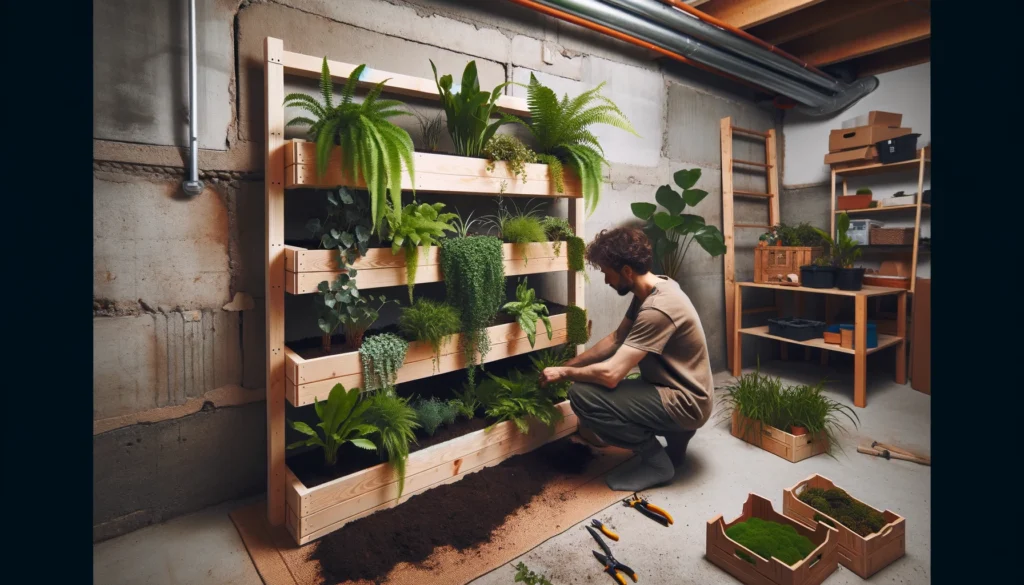
Steps: Select Suitable Plants: Choose indoor-friendly plants such as ferns, ivy, moss, or succulents. Ensure the plants have similar light and water requirements. Plant the Garden: Place each plant in the soil, ensuring they are firmly rooted. Arrange the plants according to your design plan, with taller plants at the top and smaller plants at the bottom.
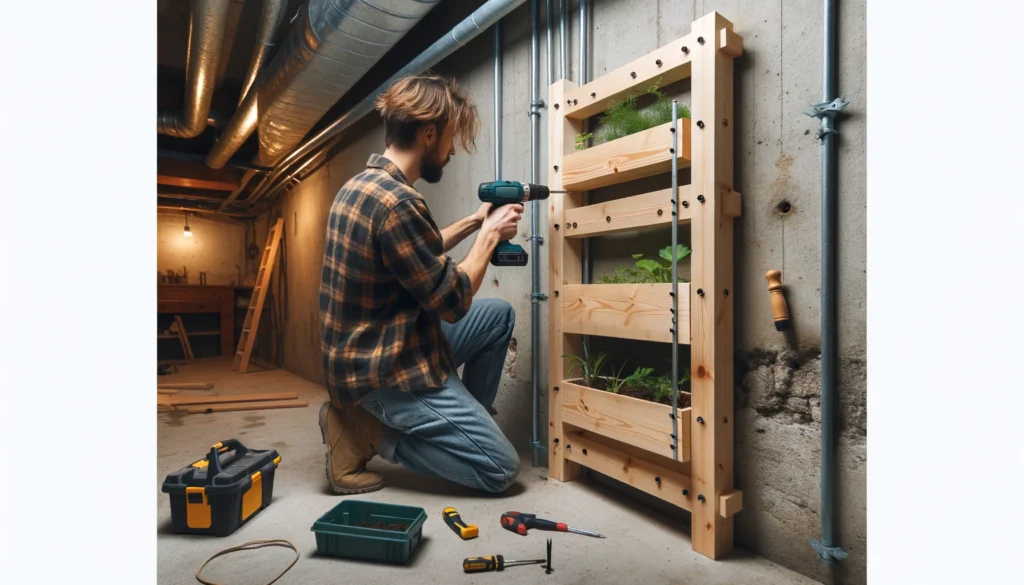
Prepare Wall Anchors: Drill holes in the wall where you plan to mount the frame. Insert wall anchors to provide extra support. Mount the Frame: Lift the frame and align it with the wall anchors. Use screws to secure the frame to the wall, ensuring it is level and stable.
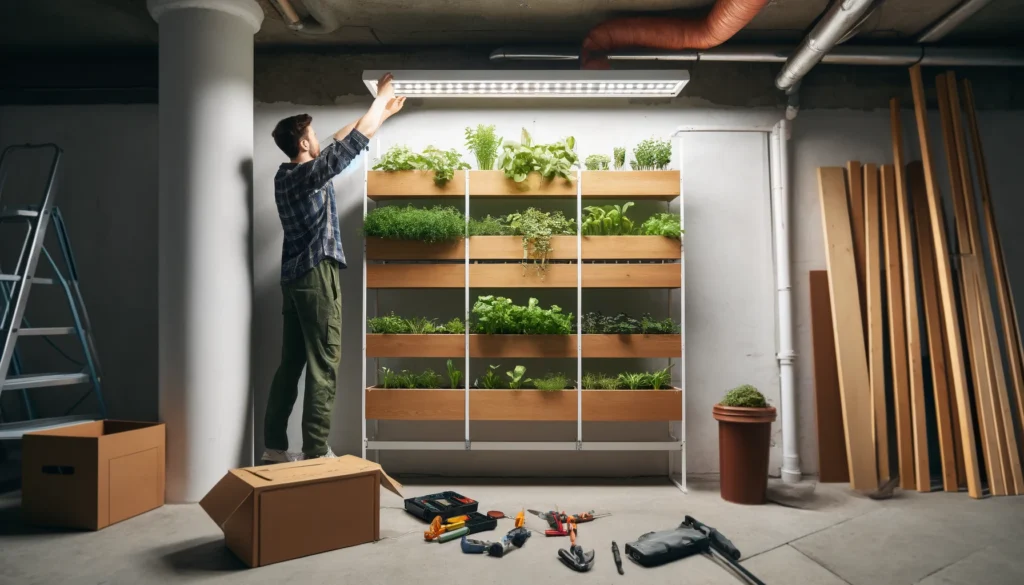
Install Grow Lights: If your basement lacks sufficient natural light, install grow lights above the vertical garden. Position the lights to evenly distribute light across all plants. Set Up a Timer: Use a timer to automate the lighting schedule, ensuring the plants receive consistent light daily.
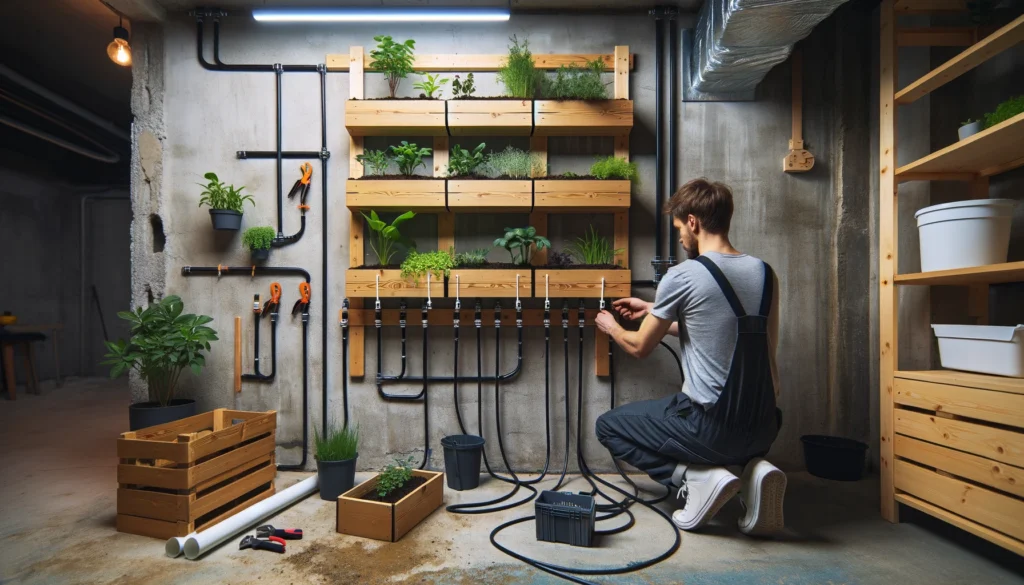
Install Drip Irrigation (Optional): For automated watering, install a drip irrigation system. Connect the system to a water source and position the drip lines to deliver water directly to the plants. Manual Watering: If you prefer manual watering, water the plants evenly, ensuring the soil is moist but not waterlogged. Check for proper drainage to avoid standing water.
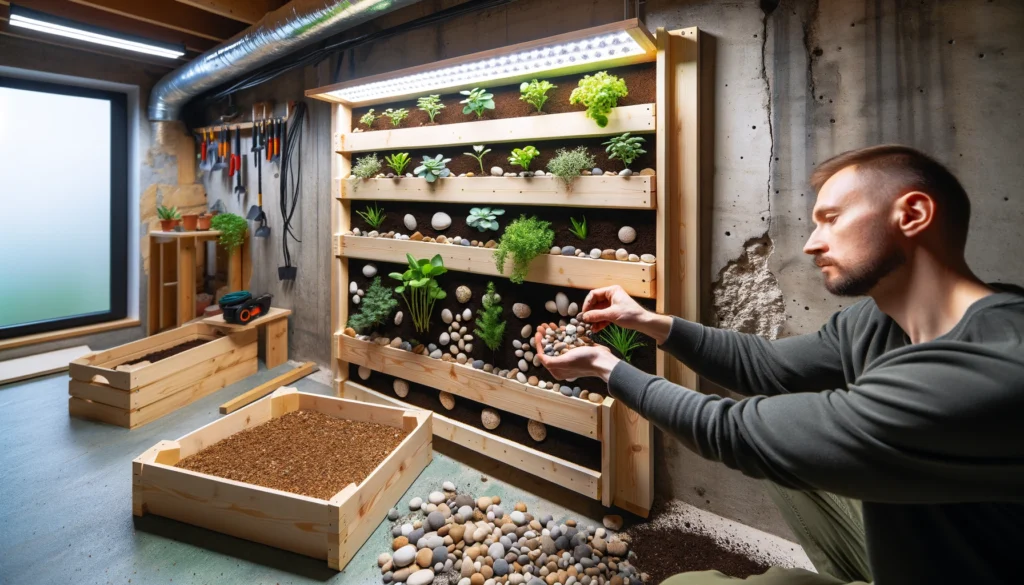
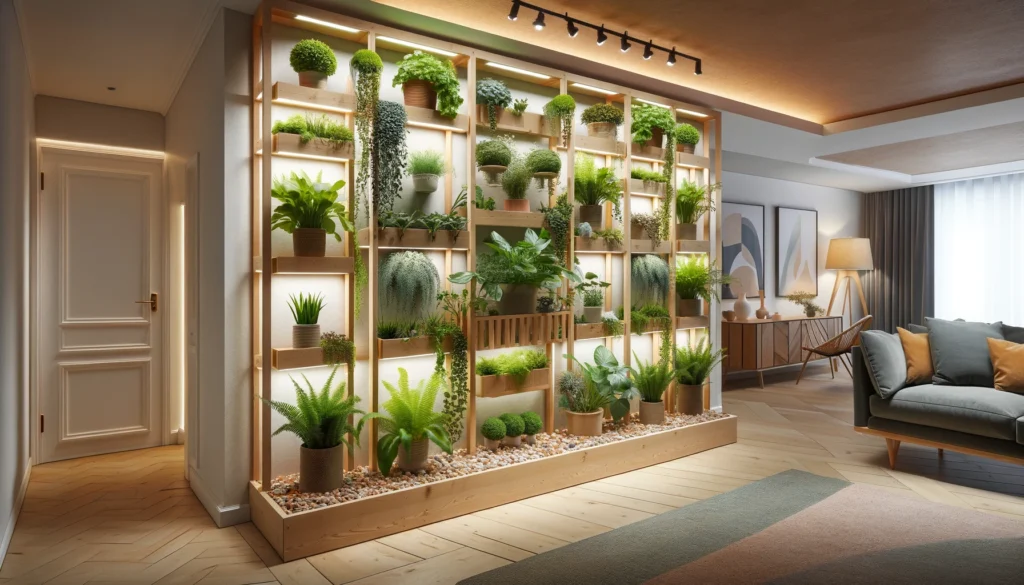
Add Decorative Elements: Place decorative stones or pebbles on top of the soil in each planter box for an aesthetic finish. Regular Maintenance: Regularly check the moisture level of the soil, prune the plants as needed, and monitor for any signs of pests or disease. Adjust the lighting and watering schedule as necessary to ensure the health of your plants.