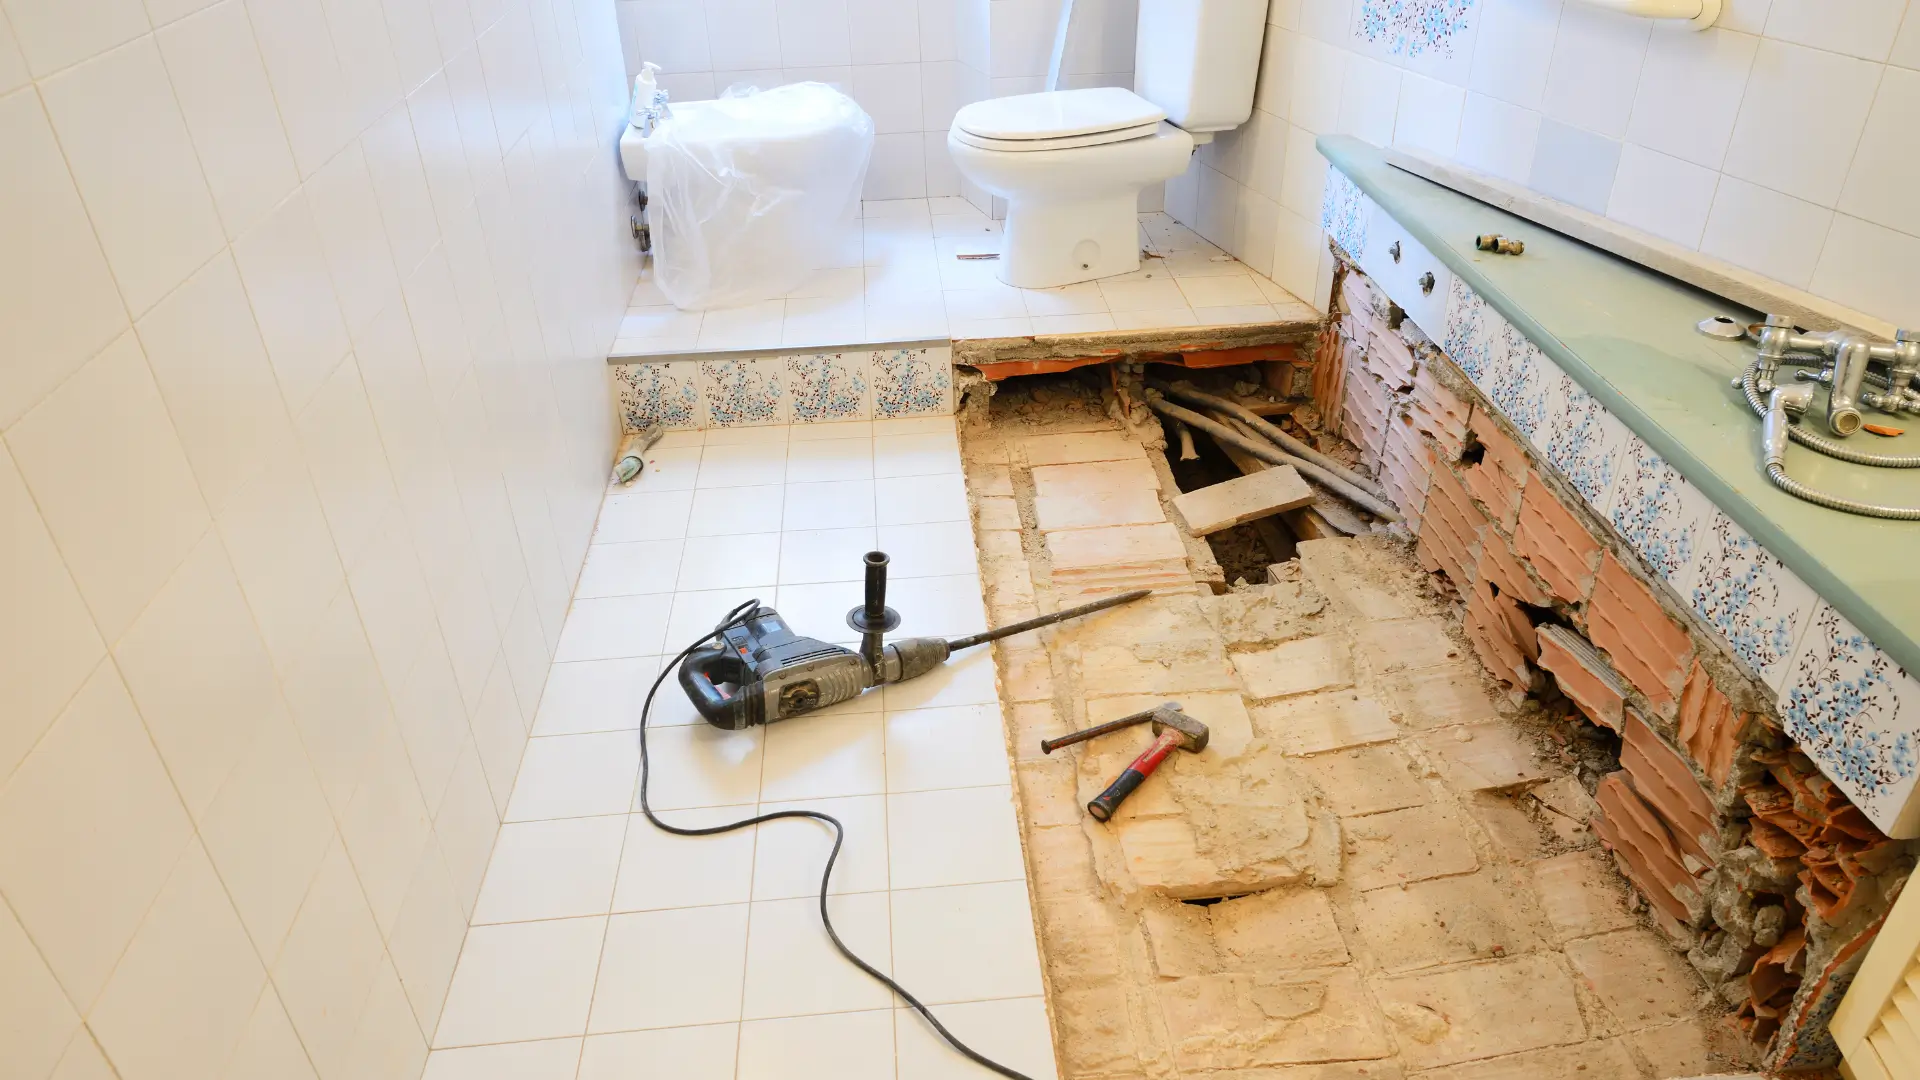
Embarking on a bathroom home improvement project can be an exciting yet challenging endeavor. Whether you’re renovating an outdated bathroom, adding new fixtures, or completely remodeling the space, having the right tools and materials is crucial for a successful project. This article provides an overview of the essential tools and materials you’ll need for various bathroom improvement tasks, helping you prepare and execute your project with confidence.
Essential Tools for Bathroom Projects
Basic Hand Tools
- Screwdrivers: A set of both flathead and Phillips screwdrivers is indispensable for tasks such as removing and installing fixtures.
- Pliers: Adjustable pliers and needle-nose pliers are useful for gripping, bending, and cutting wires and pipes.
- Wrenches: A set of adjustable wrenches, including basin wrenches, is essential for tightening and loosening nuts and bolts, particularly in tight spaces.
- Hammers: A standard claw hammer and a rubber mallet can be used for driving nails and gently tapping items into place.
Power Tools
- Drill: A cordless drill with a variety of bits is crucial for drilling holes and driving screws. Ensure you have both standard and masonry bits for different surfaces.
- Tile Cutter: For precise tile cutting, a manual tile cutter or a wet saw is necessary.
- Jigsaw: A jigsaw is useful for cutting curves and shapes in materials like wood, plastic, and metal.
- Oscillating Multi-Tool: This versatile tool can be used for sanding, cutting, scraping, and grinding.
Plumbing Tools
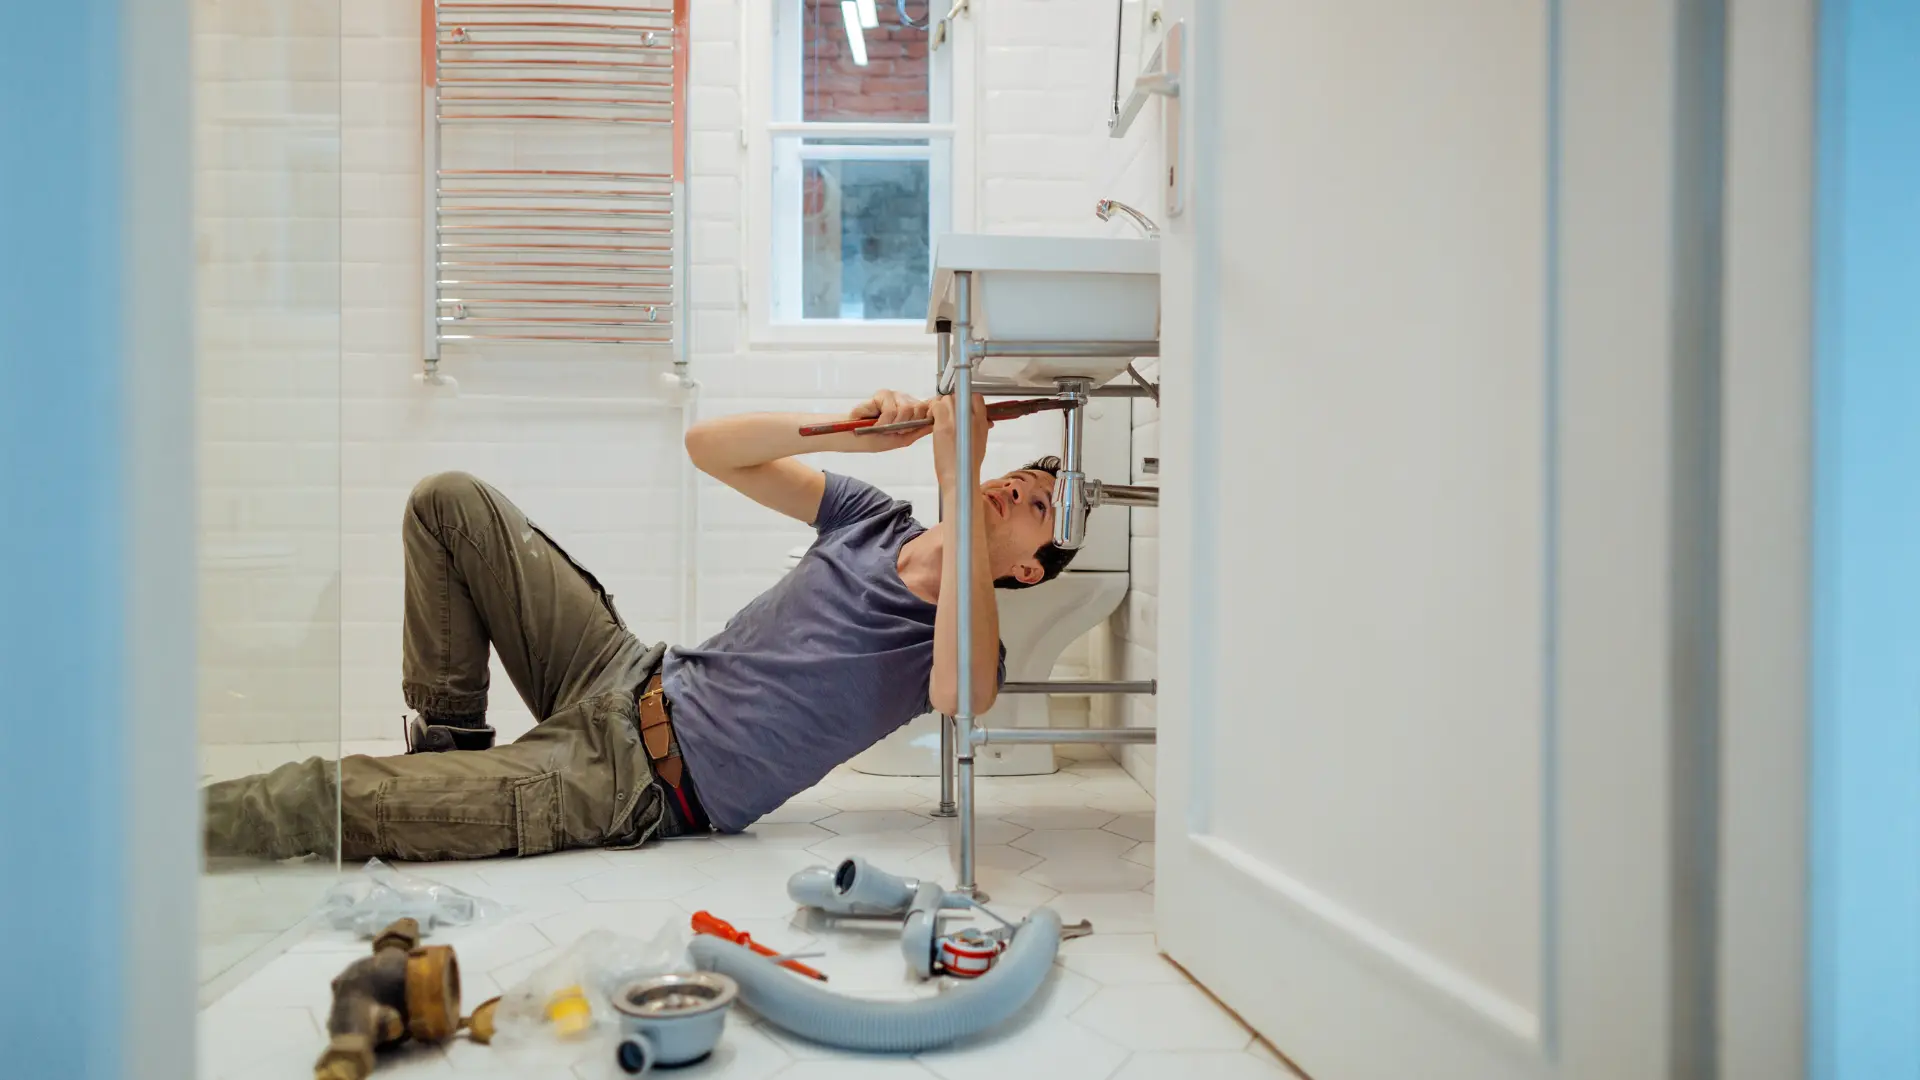
- Pipe Wrench: An adjustable pipe wrench is essential for working with metal pipes and fixtures.
- Plunger: A basic tool for unclogging drains and toilets.
- Pipe Cutter: For cutting through various types of piping, including PVC, copper, and PEX.
- Plumber’s Tape: Also known as Teflon tape, it’s used to seal pipe threads and prevent leaks.
Measuring and Leveling Tools
- Tape Measure: A retractable tape measure is vital for taking accurate measurements.
- Level: A spirit level or laser level ensures your installations are perfectly horizontal or vertical.
- Square: A combination square helps in making precise measurements and ensuring right angles.
Safety Gear
- Safety Glasses: Protect your eyes from debris and dust.
- Gloves: Wear protective gloves to prevent cuts and abrasions.
- Dust Mask: Use a dust mask or respirator when cutting, sanding, or working with chemicals.
Essential Materials for Bathroom Projects
Flooring and Wall Materials
- Tiles: Ceramic, porcelain, or natural stone tiles are popular choices for bathroom floors and walls due to their durability and water resistance.
- Grout: Used to fill the spaces between tiles, grout comes in various colors to match your design.
- Backer Board: A cement or fiber-cement board provides a stable base for tiles and prevents moisture damage.
- Sealant: Silicone or acrylic sealant is used to waterproof seams and joints.
Plumbing Materials
- Pipes and Fittings: PVC, copper, and PEX pipes are commonly used in bathroom plumbing. Ensure you have the appropriate fittings, such as elbows, tees, and couplings.
- Fixtures: Sinks, faucets, showerheads, bathtubs, and toilets are key components of a bathroom remodel. Choose fixtures that match your design and functionality needs.
- Shut-Off Valves: Install shut-off valves for sinks and toilets to control water flow during maintenance and emergencies.
Electrical Materials
- Wiring: Ensure you have the correct gauge wire for your bathroom’s electrical needs.
- Outlets and Switches: GFCI outlets are required in bathrooms to prevent electrical shocks.
- Lighting: Choose moisture-resistant light fixtures designed for bathroom use, including overhead lights, vanity lights, and recessed lighting.
Decorative and Functional Materials
- Paint: Use moisture-resistant paint designed for bathrooms to prevent mold and mildew growth.
- Cabinets and Shelving: Install cabinets and shelves for storage solutions that match your bathroom’s design.
- Mirrors: A well-placed mirror can enhance the sense of space and add a decorative element.
Miscellaneous Materials
- Adhesives: Use construction adhesive for securing panels, tiles, and other materials.
- Caulk: Apply caulk around tubs, sinks, and toilets to seal joints and prevent water damage.
- Waterproofing Membrane: Essential for areas exposed to direct water contact, such as showers and tub surrounds.
How the Tools Are Used
Measuring and Layout
Measuring Tape and Level: Accurate measurements are the foundation of any successful bathroom renovation. A measuring tape is essential for determining the dimensions of your space, ensuring that everything fits perfectly. A level helps you keep installations straight and even, which is particularly important for items like tiles, vanities, and mirrors.
Cutting and Shaping
Utility Knife, Tile Cutter, and Wet Saw: The utility knife is useful for cutting drywall and trimming excess material. For tiling projects, a tile cutter and wet saw are indispensable. The tile cutter is used for straight cuts, while the wet saw can handle more intricate cuts and thicker materials, ensuring clean edges for your tiles.
Installation
Cordless Drill and Screwdrivers: These are essential for installing fixtures, cabinetry, and accessories. A cordless drill makes quick work of drilling holes and driving screws, while screwdrivers are necessary for finer adjustments and tight spaces.
Pliers, Pipe Wrench, and Adjustable Wrench: Plumbing tasks require a variety of wrenches and pliers. Pliers help grip and twist smaller components, while the pipe wrench and adjustable wrench are vital for working with pipes and fittings, ensuring leak-free connections.
Caulk Gun: Applying caulk is crucial for sealing joints and preventing water intrusion. A caulk gun allows you to apply a consistent bead of caulk around tubs, sinks, and other fixtures.
Tiling and Finishing
Notched Trowel, Grout Float, and Putty Knife: When laying tiles, a notched trowel spreads adhesive evenly. After the tiles are set, a grout float helps fill the spaces between tiles with grout, ensuring a smooth and even surface. A putty knife is useful for applying joint compound to drywall seams and patching small holes.
Sponges and Rags: These are essential for cleaning up excess grout, adhesive, and other materials during and after installation. Keeping your workspace clean ensures a professional finish.
Safety and Cleanup
Safety Glasses, Gloves, and Dust Mask: Safety should always be a priority. Safety glasses protect your eyes from debris, gloves keep your hands safe from cuts and chemicals, and a dust mask helps you avoid inhaling harmful particles.
Shop Vacuum and Bucket: A shop vacuum is perfect for cleaning up dust and debris, while a bucket is versatile for mixing materials, carrying tools, or holding water for cleanup.
Painter’s Tape: This is used to mask off areas when painting or applying caulk, ensuring clean lines and protecting surfaces from accidental splashes or smears.
Conclusion
Equipping yourself with the right tools and materials is essential for any bathroom home improvement project. Each tool has a specific purpose, contributing to the efficiency and quality of your work. Whether you’re installing new tiles, updating fixtures, or repainting walls, understanding how to use these tools properly will help you achieve professional results. Remember, preparation and safety are key to a successful renovation, so take the time to plan your project and use your tools wisely.

